
Your First Home Improvement Project: A Grounded Starting Point

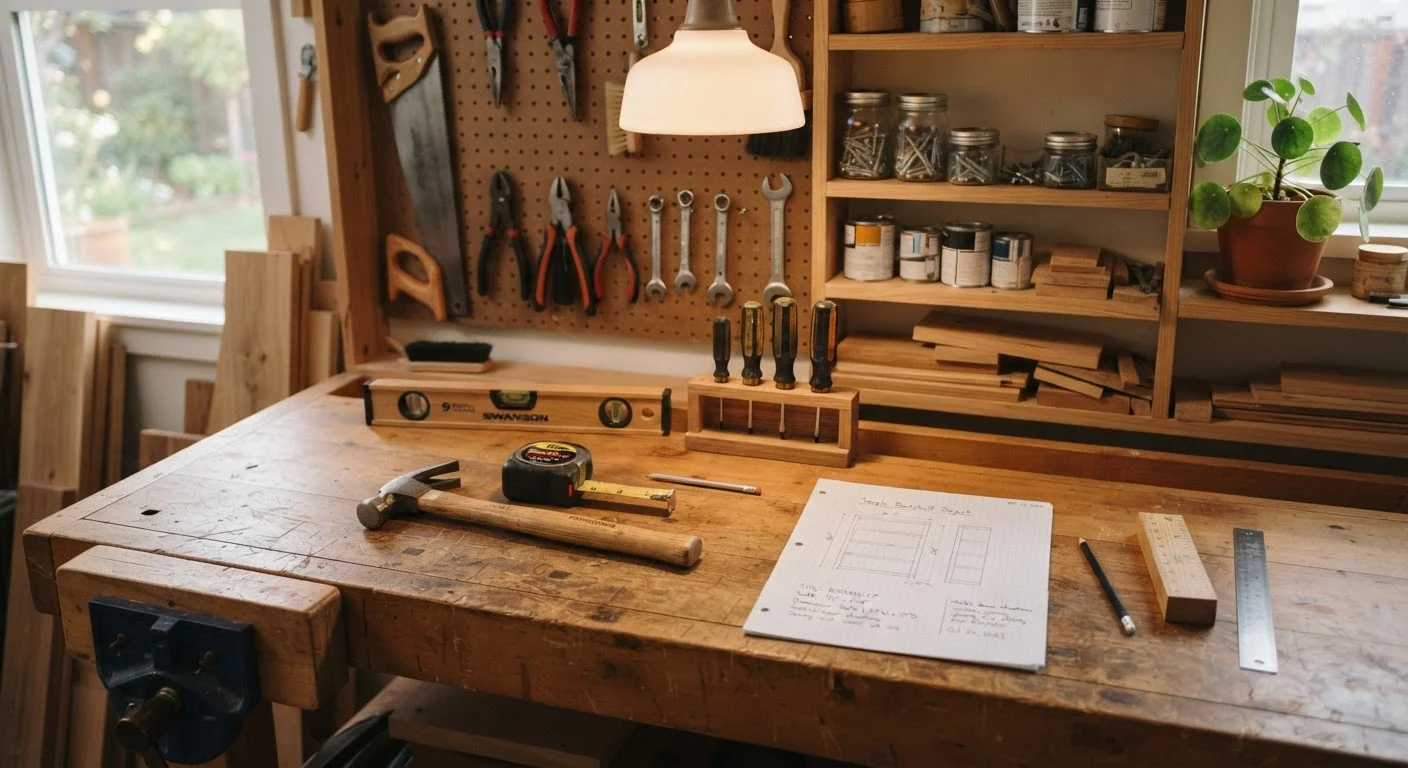
Photo: faqsvault.com editorial
Key Takeaways
- Starting with a small, low-stakes project builds confidence and practical skill faster than reading about it.
- A realistic budget should always include a 15–20% contingency buffer for unexpected costs.
- Electrical, gas, structural, and plumbing work typically requires permits and licensed professionals.
- A basic toolkit — drill, level, tape measure, hammer — covers the majority of beginner projects.
- Knowing when to call a professional is a skill, not a failure.
Why Your First Project Matters More Than You Think
Every capable homeowner started somewhere — usually somewhere small and slightly imperfect. Your first home improvement project is less about the outcome and more about building the decision-making habits, spatial awareness, and tool confidence you'll rely on for every project that follows. Get that first one right in the right way, and everything after becomes more manageable.
This guide assumes you have basic everyday familiarity with your home but haven't yet tackled a real improvement project on your own. If you're also brand new to homeownership itself, property ownership fundamentals is worth reading first to understand your responsibilities and rights as an owner before tools enter the picture.
The goal here is to give you a grounded, honest starting point — not to oversell what DIY can accomplish or to push you toward projects that are beyond a reasonable beginner scope.
Choosing the Right Project for Your Skill Level
The most common beginner mistake is choosing an ambitious first project — ripping up flooring, removing a wall, rewiring an outlet — before establishing any foundational skill. The smarter approach is deliberately starting below your ego's ambitions.
Good first projects share a few characteristics: they are largely reversible if something goes wrong, they don't require permits, they have a clear stopping point, and they produce a visible result that rewards your effort. Painting an interior room, installing a new light fixture (if you're comfortable with basic electrical safety and the circuit is off), patching drywall holes, or replacing cabinet hardware all meet these criteria.
Projects like these also develop skills that compound. Learning to prep a surface properly before painting translates directly to tiling, wallpapering, and refinishing. Getting comfortable measuring twice before cutting once applies across dozens of future tasks. Once you've completed a couple of these smaller wins, you'll be in a much stronger position to evaluate whether a more complex project — like a larger renovation — is right for you.
If your home also needs aesthetic updates beyond structural work, decorating a new home from scratch pairs well with early improvement projects and helps you make decisions that look intentional rather than accidental.
Budgeting for Home Improvement Without Surprises
Even small projects have a way of costing more than expected. A room painting job suddenly requires spackling compound, blue tape, a drop cloth, a better brush — costs that seemed trivial until they're added together. Budgeting carefully from the start prevents that creeping frustration.
Start by listing every material you'll need, then price each item before you begin. Add a 15–20% contingency buffer on top of your total estimate. This isn't pessimism — it's standard practice, even among experienced contractors. Unexpected material waste, a tool you forgot, or a problem you discover mid-project are all normal.
Separate your materials budget from any labor budget if you're planning to hire help for parts of the project. Keep receipts and track what you spend in real time. If personal budgeting is genuinely new territory for you, the principles in building a budget from scratch apply directly to project planning as well.
Set Your Budget Ceiling Before You Start
Set a firm spending ceiling before you start, not after you're mid-project and emotionally invested. It's far easier to scope a project down before you've opened any walls than after.
Essential Tools Every Beginner Should Own
Load-bearing wall
A wall that supports the weight of the structure above it. Removing or modifying one without proper engineering can destabilize the building — always requires professional assessment.
Circuit breaker
A safety switch in your electrical panel that cuts power to a specific circuit when it detects a fault or overload. Always switch the relevant breaker off before doing any electrical work.
Permit
Official approval from your local government required before certain types of home improvement work can begin. Permitted work is inspected to confirm it meets safety codes.
Contingency budget
An extra amount of money set aside — typically 15–20% of the project estimate — to cover unexpected costs or complications that arise during the work.
PPE (Personal Protective Equipment)
Safety gear worn to protect yourself during work, including safety glasses, gloves, dust masks, and hearing protection depending on the task.
Stud
A vertical framing member inside a wall, typically spaced 16 inches apart. Anchoring shelves, towel bars, or heavy fixtures into studs — rather than just drywall — ensures a secure hold.
You don't need a full workshop to handle most beginner projects. A focused starter kit covers the majority of what you'll encounter in the first year or two of homeownership.
- Cordless drill/driver: Handles screws, assembles furniture, bores holes. One of the most versatile tools in any kit.
- Tape measure: A 25-foot tape measure handles almost every indoor measuring task. Always measure twice.
- Torpedo or 4-foot level: Essential for anything hung on a wall, from shelves to artwork to towel bars.
- Claw hammer: Driving nails, pulling nails, light demolition. A 16-ounce hammer is a versatile weight for most tasks.
- Screwdriver set: Both flathead and Phillips in multiple sizes. Even with a drill, manual screwdrivers handle precision work better.
- Utility knife: Cutting drywall, opening packaging, scoring surfaces. Always keep a fresh blade loaded.
- Stud finder: Non-negotiable for hanging anything heavy on a wall safely.
Build your kit around actual projects rather than buying speculatively. As your project list grows, so should your tools — deliberately, not all at once.
Safety Basics You Should Know Before Picking Up a Tool
Safety isn't the boring part of home improvement — it's the part that keeps the project from becoming an emergency. A few non-negotiable habits apply to virtually every project:
- Know where your shutoffs are. Locate your main electrical panel, water main shutoff, and gas shutoff before you need them in a hurry.
- Wear appropriate PPE. Safety glasses for anything involving cutting, drilling, or chemical products. Gloves when handling rough materials or sharp edges. A dust mask for sanding or any work in older homes.
- Shut off circuits before any electrical work. Use a non-contact voltage tester to confirm a circuit is dead before touching any wiring. Do not rely on the light switch alone.
- Test for lead paint and asbestos in older homes. Homes built before 1978 may contain lead paint; homes built before the early 1980s may contain asbestos in insulation, floor tiles, or textured ceilings. Disturbing these materials without proper precautions is a serious health hazard. Test kits are available at hardware stores, but for significant disturbance, consult a licensed abatement professional.
If a project feels genuinely unsafe at any point — stop. Reassess. The project will still be there tomorrow.
DIY vs. Hiring a Professional: How to Decide
Knowing what not to DIY is one of the most valuable skills a homeowner can develop. Some work is legally restricted to licensed professionals in most jurisdictions. Some is technically possible for a determined amateur but carries consequences — to your safety, your home's integrity, or your insurance coverage — that make it inadvisable.
Always hire a licensed professional for:
- Electrical panel upgrades or new circuit installation
- Gas line work of any kind
- Load-bearing wall removal or structural modifications
- Roofing beyond minor surface repairs
- Main plumbing connections and sewer line work
These categories almost universally require permits and inspections. Unpermitted work can create serious complications when you sell your home, make claims on your homeowner's insurance, or discover a related problem later.
Reasonable DIY territory for a motivated beginner: painting, basic landscaping, interior hardware swaps, minor drywall patching, furniture assembly, and simple shelf installation.
When hiring out, prepare yourself by reading through the right questions to ask before any contractor starts work. Knowing how to evaluate a quote, verify a license, and understand a contract protects your home and your budget far more than any single tool in your kit.
If your interest in improvement extends to your outdoor space, starting a vegetable garden from zero is an excellent beginner project that builds similar planning and follow-through skills in a lower-stakes environment.
Frequently Asked Questions
All published content on this website is for informational and educational purposes only and should not be taken as professional advice. We recommend that readers seek expert opinion before making any decisions. The website is not responsible for any actions taken based on the information provided on this website. We are not liable for any inaccuracies, modifications, or omissions in information. Moreover, external links or third-party content are provided for convenience; we are not liable for their correctness. Users are advised to verify every piece of information before they use it for any purpose.