
Setting Up a New Tablet for the First Time

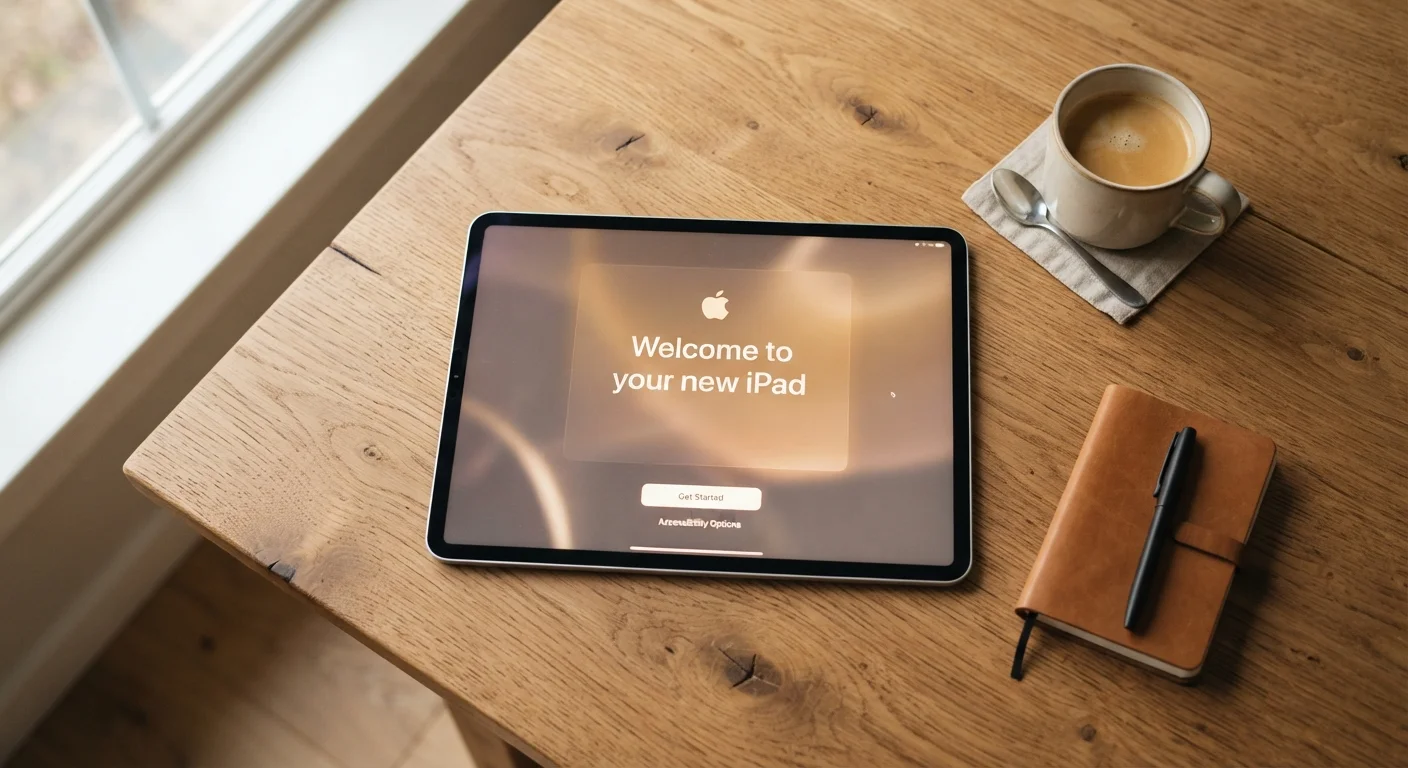
Photo: faqsvault.com editorial
Key Takeaways
- Charging your tablet to at least 50% before setup prevents frustrating mid-process shutdowns.
- A stable Wi-Fi connection is essential — setup cannot be completed without internet access.
- Creating or signing into an account unlocks the app store, cloud backup, and device personalization.
- Enabling a screen lock and automatic updates during setup protects your tablet from the start.
- Most setup steps can be revisited later in Settings if you skip or rush them initially.
What You'll Need Before You Start
Unboxing a new tablet is exciting, but a few minutes of preparation upfront will make the entire process smoother. Before you power on the device, gather the essentials listed below.
What you will need
If you plan to use your tablet alongside other devices — a phone, laptop, or smart speaker — it helps to use the same account across all of them. For a broader look at how that works, see our guide on managing your digital life across multiple devices.
Setting Up Your Tablet Step by Step
Follow these steps in order. Each one builds on the last, and skipping ahead can cause unnecessary confusion. If you make a mistake at any point, you can usually go back using an on-screen arrow or revisit the setting later through the Settings app.
Charge the tablet before you begin
Plug in your tablet using the included cable and adapter and let it charge for at least 30 minutes before powering it on. Most tablets arrive with a partial charge, but running out of battery mid-setup can interrupt the process and, in rare cases, require you to start over.
Power on and select your language
Press and hold the power button — usually on the top or right edge of the tablet — until the screen lights up. A welcome screen will appear. Tap your preferred language from the list and then tap the on-screen button to continue. This sets the language for all menus, apps, and system text going forward.
Connect to your Wi-Fi network
Your tablet will display a list of available Wi-Fi networks. Tap the name of your home network, then enter your Wi-Fi password on the keyboard that appears. Tap Connect or Join. Wait for the tablet to confirm it's connected — this usually takes 10–20 seconds.
Sign in to or create your account
This step links your tablet to your digital identity — it's what lets you download apps, back up your data, and restore your device if something goes wrong. On an Android tablet, sign in with a Google account. On an iPad, use your Apple ID. If you don't have one, tap the option to create a new account and follow the prompts — you'll need a valid email address and to verify it.
Set up a screen lock
When prompted, choose a method to secure your tablet: a PIN (a short number code), a pattern, a fingerprint, or face recognition. A PIN is the simplest and most reliable fallback. Enter and confirm your chosen PIN or follow the prompts for biometric setup. You'll use this every time you wake the tablet from sleep.
Enable automatic updates and backup
During the final setup screens, you'll typically be asked whether to enable automatic software updates and cloud backup. Accept both. Automatic updates keep your device secure without requiring you to remember to do it manually. Cloud backup means your settings and data are saved remotely, so if anything goes wrong, you can restore them.
Personalise your home screen
Once setup is complete, you'll land on the home screen. Take a few minutes to arrange things the way you like. Press and hold any app icon to move it. Swipe left or right to see additional pages. Most tablets let you change the wallpaper by holding your finger on a blank area of the screen and selecting Wallpaper or Personalize. Adjust the text size if needed under Settings > Display > Font Size.
Once your tablet is fully set up, you may want to explore what else is possible with connected technology. Our guide to your first smart home device is a natural next step for anyone curious about expanding their setup.
Common Hiccups and How to Handle Them
Even with clear instructions, small problems can crop up. Here are the most common issues new tablet owners run into during setup — and what to do about them.
- Wi-Fi won't connect
- Double-check that you're selecting the correct network name and entering the password exactly as it appears — passwords are case-sensitive. If your router has a 2.4 GHz and a 5 GHz band listed separately, either will work for setup.
- Forgot your account password
- Use the "Forgot password" link on the sign-in screen. You'll receive a reset link by email or a verification code by text. Have access to that email account or phone number ready before you start.
- Setup screen is frozen
- Hold the power button for about ten seconds until the device restarts. This is safe during setup and won't damage the tablet.
- Not enough storage for updates
- If prompted during setup, allow the tablet to clear temporary files or postpone the update. You can run it later through Settings > Software Update.
Your Setup Doesn't Have to Be Perfect Today
Managing a tablet well from day one can genuinely change how useful it feels in everyday life. For broader strategies on making your devices work better for you, explore the Digital Life Tips hub.
All published content on this website is for informational and educational purposes only and should not be taken as professional advice. We recommend that readers seek expert opinion before making any decisions. The website is not responsible for any actions taken based on the information provided on this website. We are not liable for any inaccuracies, modifications, or omissions in information. Moreover, external links or third-party content are provided for convenience; we are not liable for their correctness. Users are advised to verify every piece of information before they use it for any purpose.