
Tiling a Bathroom Floor: From Surface Prep to Grouting

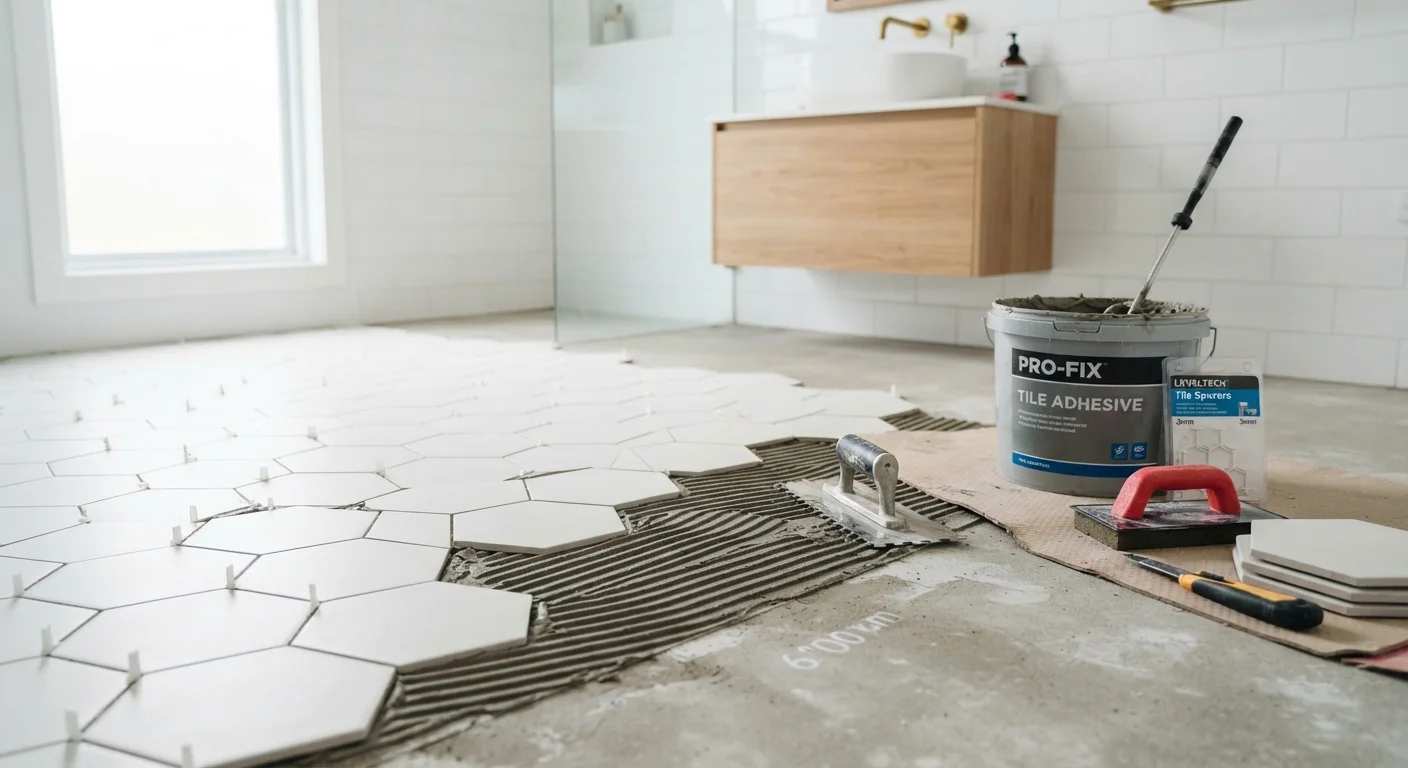
Photo: faqsvault.com editorial
Key Takeaways
- A properly prepared, level subfloor is the single most important factor in a lasting tile installation.
- Dry-laying tiles before applying adhesive helps you plan cuts and avoid awkward narrow slivers at walls.
- Thin-set mortar is the standard adhesive for bathroom floors; mastic should be avoided in wet areas.
- Allow full adhesive cure time — typically 24 hours — before walking on tiles or applying grout.
- Unsanded grout suits joints under 1/8 inch; sanded grout handles wider joints without cracking.
- Sealing grout after it cures significantly extends its lifespan and resistance to moisture and staining.
Why Surface Preparation Makes or Breaks a Tile Job
Tiles are only as stable as what lies beneath them. Even the most carefully laid tile will crack, pop, or shift if the subfloor is soft, uneven, or contaminated. Before you open a bag of thin-set, invest serious time in understanding what you're working with.
Most bathroom subfloors are either plywood or concrete. Plywood must be at least 3/4 inch thick and structurally sound — any flex underfoot will telegraph stress directly into the tile and grout over time. Concrete must be clean, dry, and free of any curing compound or sealer that would prevent adhesive bonding.
Check for high and low spots using a long straightedge or 4-foot level. The industry standard for tile installation is no more than 3/16 inch of variation over a 10-foot span. Use floor leveling compound to fill dips and a belt sander or hand grinder to knock down high spots. For plywood subfloors in bathrooms, consider installing a layer of cement backer board (such as cement board or fiber-cement board) before tiling. It resists moisture, adds rigidity, and gives tile adhesive an ideal bonding surface. Secure it with the manufacturer's recommended screws and tape the seams with alkali-resistant mesh tape embedded in thin-set.
For a full room-by-room approach to renovation planning, including bathroom prep, see our room-by-room renovation checklist.
What you will need
Planning Your Layout and Cutting Tiles
A thoughtful layout prevents the visual awkwardness of tiny cut pieces along prominent walls. Start by finding the center of the room: snap chalk lines between the midpoints of opposite walls to create a cross at the room's center. This is your starting point.
Do a dry run — lay tiles out from the center toward the walls without any adhesive. Use tile spacers to simulate grout joints. Look at what hits the walls. If you end up with a sliver less than half a tile wide, shift your starting point by half a tile to create a more balanced look. Doorways and the most visible wall from the entrance should receive full or near-full tiles.
For cuts, a wet tile saw gives the cleanest, most accurate results, particularly for straight cuts on ceramic or porcelain. A manual snap cutter works for straightforward straight cuts on thinner ceramic tiles. Curved cuts around toilet flanges or pipe penetrations require a tile nipper or an angle grinder fitted with a diamond blade. Always wear safety glasses and hearing protection when cutting.
Wet tile saw
Makes accurate straight cuts through ceramic, porcelain, and stone tiles cleanly and safely.
Notched trowel
Spreads and combs thin-set adhesive into consistent ridges for proper tile adhesion.
Rubber grout float
Presses grout firmly into tile joints and removes excess from tile surfaces.
Rubber mallet
Gently seats tiles into the adhesive bed and adjusts height without cracking tile.
4-foot level or long straightedge
Checks subfloor and tile surface for flatness and identifies high or low spots.
Tile spacers
Maintains consistent, uniform grout joint width between tiles during installation.
Tile nipper or angle grinder with diamond blade
Creates curved or irregular cuts for fitting tiles around obstacles like toilet flanges.
Chalk line
Snaps straight reference lines across the subfloor to establish a centered, square layout.
Applying Adhesive and Setting Tiles
For bathroom floors, polymer-modified thin-set mortar is the adhesive of choice. It bonds well to cement board and concrete, handles the moisture of a bathroom environment, and provides a rigid bed that resists flex. Mix it to a peanut-butter consistency — thick enough to hold ridges from a notched trowel without slumping.
Spread thin-set over a manageable area — roughly 3 to 4 square feet at a time — using the flat side of a notched trowel to press it into the substrate, then comb it with the notched side to create uniform ridges. The notch size should match the tile size: larger tiles generally need a larger notch (1/2 x 1/2 inch is common for 12-inch-plus tiles).
Set each tile with a slight twisting motion and press firmly so that ridges collapse and contact covers at least 95% of the tile back. Lift a tile periodically to check coverage. Insert tile spacers at each corner to maintain consistent joint width. Work in sections, checking for level as you go with a rubber mallet and level. Never slide tiles sideways once placed — this pushes thin-set into the joint.
Grouting and Finishing
Once the thin-set has cured fully — wait the time specified on the bag, generally a minimum of 24 hours — you can remove tile spacers and begin grouting. Choose your grout based on joint width: unsanded grout for joints 1/8 inch or less, sanded grout for wider joints. In wet areas like bathrooms, epoxy grout is an option worth knowing about; it is highly stain- and moisture-resistant, though it is more expensive and less forgiving to work with.
Mix grout to a smooth, lump-free consistency. Apply it diagonally across the tile surface using a rubber grout float, pressing it firmly into joints and holding the float at a low angle. Work in small sections — about 10 square feet at a time. Once joints are packed, hold the float at a steep angle and sweep diagonally to remove excess grout from tile faces.
Allow grout to haze over for 15 to 30 minutes, then wipe the surface with a damp — not wet — sponge in a circular motion. Rinse the sponge frequently. A final polish with a dry cloth removes the thin film. Once grout has cured fully (typically 48 to 72 hours), apply a penetrating grout sealer to protect it from moisture and staining. Follow the product directions carefully and reapply annually in heavy-use bathrooms.
Don't Rush the Grout Sealing Step
All published content on this website is for informational and educational purposes only and should not be taken as professional advice. We recommend that readers seek expert opinion before making any decisions. The website is not responsible for any actions taken based on the information provided on this website. We are not liable for any inaccuracies, modifications, or omissions in information. Moreover, external links or third-party content are provided for convenience; we are not liable for their correctness. Users are advised to verify every piece of information before they use it for any purpose.