
Why Skipping the Primer Costs You More Than Time

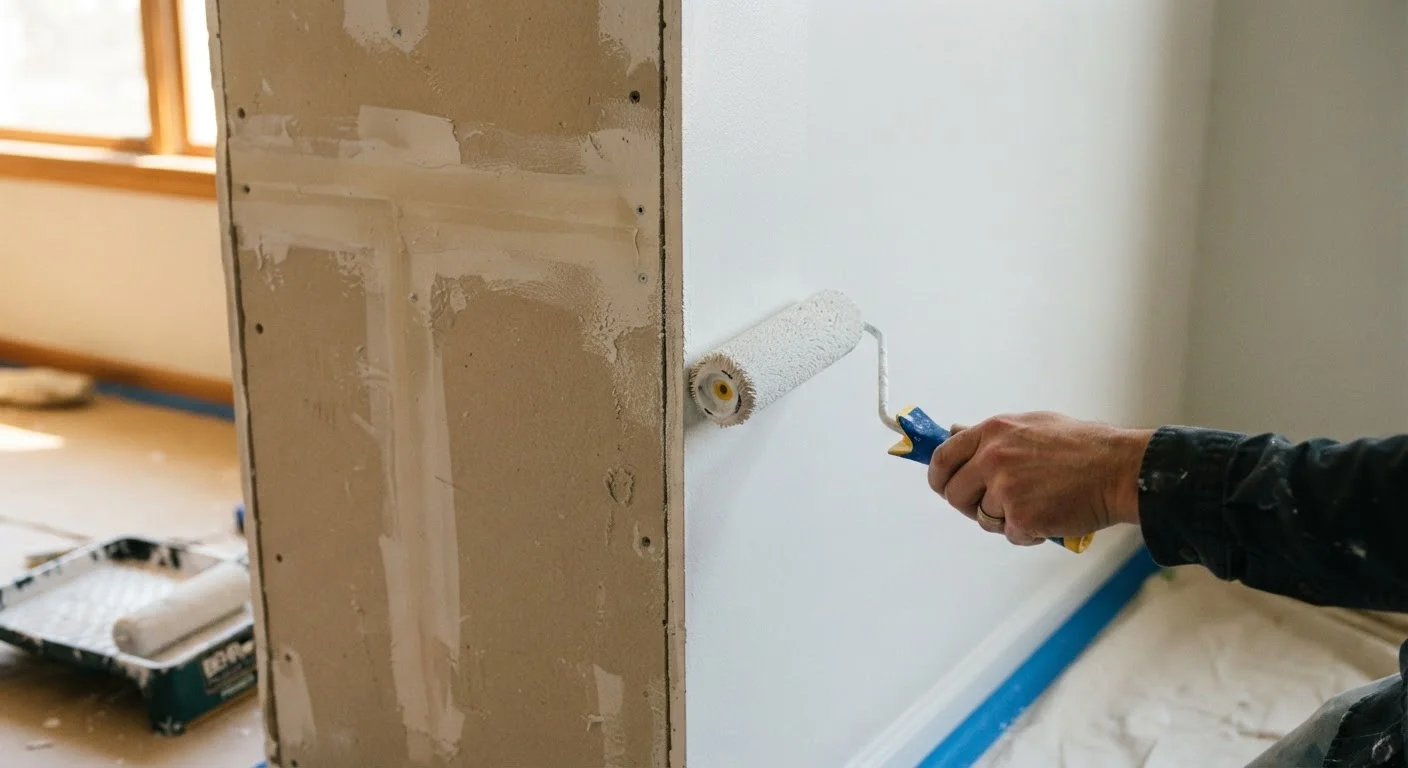
Photo: faqsvault.com editorial
Key Takeaways
- Skipping primer often leads to peeling, uneven color, and premature paint failure within months.
- Different surfaces — drywall, wood, masonry — each require specific primer types for best adhesion.
- Using paint-and-primer-in-one products is not always an adequate substitute for a dedicated primer coat.
- Applying primer correctly can reduce the number of topcoat layers needed, saving money overall.
- Stains, odors, and moisture damage require specialty primers that standard paint cannot address.
Why Primer Gets Skipped — and Why That's a Problem
Primer rarely gets the credit it deserves. It's the invisible layer, the step that adds time and cost before you ever open a can of your carefully chosen color. So it's understandable that many homeowners try to skip it — especially when paint cans now advertise built-in priming properties. But the reality is that primer does a job paint simply isn't designed to do on its own.
Paint is formulated to deliver color, sheen, and a protective topcoat. Primer is formulated to bond. It creates a uniform, sealed surface that gives paint something consistent to grip. Without it, paint applied over porous drywall, bare wood, or repaired patches absorbs unevenly, produces blotchy results, and is far more prone to peeling, cracking, and fading. What looks passable on day one can start failing within six months.
The financial logic of skipping primer often backfires. A single can of primer covers a significant area and costs a fraction of premium paint. But repainting a wall that's peeling or showing through in patches means buying more paint, spending more time, and possibly hiring someone to fix what went wrong. The shortcut tends to cost more in the long run.
Assuming paint-and-primer-in-one replaces a dedicated primer coat on bare or problem surfaces.
Using the wrong primer type for the specific surface being painted.
Skipping primer on repaired drywall patches, leading to visible sheen differences after painting.
Painting over water-stained or smoke-damaged areas without a stain-blocking primer.
Skipping primer entirely on a repaint because the existing paint looks intact.
Choosing the Right Primer for the Surface
Not all primers are interchangeable, and choosing the wrong type is nearly as problematic as skipping primer entirely. Here's a general breakdown of surface-specific considerations:
- New drywall: Fresh drywall is highly porous and will absorb paint unevenly without a PVA (polyvinyl acetate) drywall primer. Skipping this step leaves visible texture differences — commonly called "flashing" — even after multiple topcoats.
- Bare or previously painted wood: Wood expands and contracts with humidity. An oil-based or shellac primer helps seal the grain and prevents tannin bleed-through, which causes yellowish stains to migrate through lighter paint colors.
- Masonry and concrete: These surfaces are alkaline, which can degrade standard paint over time. A masonry-specific primer neutralizes the pH and improves adhesion on rough, porous textures.
- Stained or smoky surfaces: Regular primer won't block heavy stains, smoke damage, or water rings. Shellac-based or stain-blocking primers are designed specifically to seal these problem areas before painting.
Reading the primer label carefully matters. A general-purpose primer may work well for a lightly scuffed wall in good condition but fall short on raw wood or a water-damaged ceiling. When in doubt, consult the product's surface compatibility chart or ask at your local paint counter for guidance.
2–3×
Longer lifespan with proper surface prep
Industry painting guides consistently note that thorough surface preparation, including priming, can significantly extend the useful life of an interior or exterior paint job.
Up to 30%
Reduction in topcoat coverage needed
Applying a tinted primer before a deep or saturated finish color can reduce the number of topcoat layers required for full, even coverage, according to paint application guidance from major coating manufacturers.
Getting the Most Out of Your Primer Coat
Applying primer correctly makes a measurable difference. A few practical points worth keeping in mind:
- Prepare the surface first. Primer bonds better to clean, dry, sanded surfaces. Fill holes, sand rough edges, and wipe away dust before you start. Primer isn't a substitute for surface prep — it works alongside it.
- Apply a full, even coat. Thin or patchy primer application defeats the purpose. Use a roller for large flat surfaces and a brush to cut in corners and edges. Allow it to dry fully according to the manufacturer's guidelines before sanding lightly and applying paint.
- Tint your primer. If you're painting with a deep or saturated color, ask your paint supplier to tint the primer toward that final color. This reduces the number of topcoats needed to achieve full, even coverage — a practical way to save on paint.
- Don't rush the dry time. Painting over primer that hasn't fully cured traps moisture and undermines adhesion. Patience at this stage pays off in a finish that holds up longer.
For large projects or surfaces in poor condition, a second primer coat may be warranted. It's worth the extra step when the alternative is repainting in a year.
Exterior Priming in Wet or Cold Conditions
All published content on this website is for informational and educational purposes only and should not be taken as professional advice. We recommend that readers seek expert opinion before making any decisions. The website is not responsible for any actions taken based on the information provided on this website. We are not liable for any inaccuracies, modifications, or omissions in information. Moreover, external links or third-party content are provided for convenience; we are not liable for their correctness. Users are advised to verify every piece of information before they use it for any purpose.