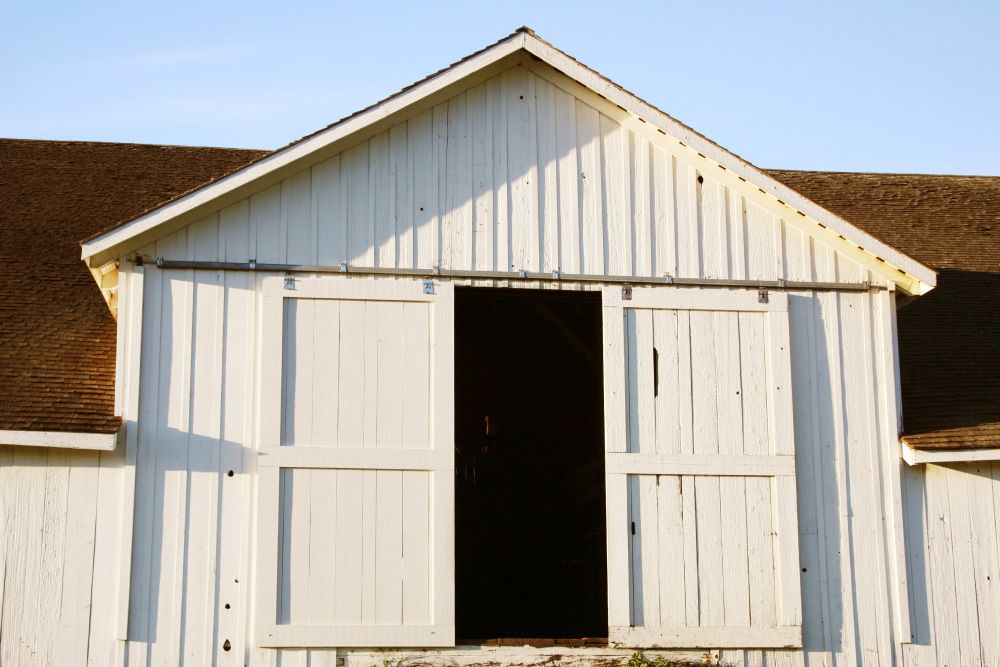
Barn doors can save indoor space owing to their sliding mechanisms. They are also quite stylish and can enhance the visual appeal of a house by adding a rustic charm to the interiors. Plus, barn door installation is quite hassle-free and only involves a few steps that are easy to follow. What’s more, it gives homeowners a chance to try out a DIY project to revamp their interior space.
Make sure there is enough space
Before beginning the DIY barn door installation project, homeowners need to first assess the space where the door is to be installed. The wall space beside the door needs to be completely empty and at least as big as the door for a barn door to fit and function properly. Only then can the door slide open fully. Homeowners also need to check whether the wall space is free to use and does not have light switches, outlets, windows, vents, or another door. If so, the space might not be ideal for a sliding door, since opening it would mean blocking those elements on the walls.
Choose good quality hardware
Barn door installation requires quite a lot of hardware, including a whole barn door kit and multiple tools. Those purchasing a kit will get all the parts, such as the door itself, headboard, rail, rollers, stoppers, and screws, needed to be installed. A lot of these kits also come with pre-drilled holes on the door to make the installation process easier.
Regardless of whether homeowners are purchasing a kit or separate parts, they need to ensure that the door and the rails are of good quality. The door, for starters, is better if made of hardwood, such as ash or birch, as they are a lot more durable. That said, if homeowners are looking for lightweight options, engineered wood with a solid wood core can make for a good choice. Along with the door, they need to pick a metal rail or a track that is durable—preferably made from stainless steel.
Be mindful of the dimensions
Before purchasing a barn door kit or separate materials, homeowners also need to make sure that they have all the dimensions right. Almost every barn door installation guide recommends that the barn door be slightly bigger than the doorway. It is better to choose a door that is at least six inches wider than the doorway on either side to be on the safer side. Likewise, the barn door track also needs to be at least twice the width of the doorway.
Install the track
The first step to installing the barn door is to first mount its track. However, it is not generally recommended to install the track directly onto the studs. This is because barn doors can be quite heavy and require the extra support of a headboard. The headboard should also be slightly bigger than the track. So, it is better to start by installing the headboard over the doorway, mounting it onto the studs, and proceeding with the barn door track installation. Homeowners can attach the stoppers next to both sides of the rail once they have installed the track.
Prepare the door
One of the most important tips to follow when installing a barn door is to prepare the door before hanging it onto the rails. This preparation involves attaching the handles and painting the door. Once homeowners install the door onto the rail, completing these tasks won’t be easy or practical. The doors provided in barn door kits at least have pre-drilled holes for the handles, which makes attaching the handles slightly easier. However, if a door necessitates drilling, attaching the handles would prove to be a significant hassle once the door is in place.
Also, if considering painting their door, it is recommended to use oil paint, since wood soaks up this paint very fast. Moreover, oil paint plays a crucial role in protecting wooden objects from moisture.
Hang the door
Installing a heavy barn door onto the rails might require an extra pair of hands. However, the task might be quite easy for an individual for lighter variants. To mount the door onto the rails, homeowners need to lift the door, place the wheels or rollers onto the rail, and then carefully slide the door along the track to ensure it is aligned properly. It is also recommended that they secure anti-jump disks to the top edge of the doors to keep the rollers in place. Homeowners should consider watching a barn door installation video for detailed instructions on the hanging process.
Install floor guides
Since there are no floor tracks or attachments to support the barn door from below, chances are that it may swing. So, attaching floor guides, which are tiny brackets or rollers that help keep the bottom of the door steady and aligned, is recommended.
Getting a barn door installed by professionals can easily cost more than $1000. DIY-ing the process might require some elbow grease, but it will save a lot of money. Since the kit costs $200, this is the only major cost.
